|
Tube Screamer IC Chip Change
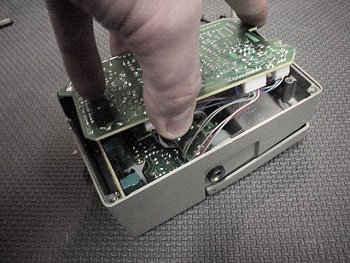
Excerpts from Analog Man's Ibanez Tube Screamers page. with minor additions by Ashley. I generally keep old circuit boards from effects or whatever so that I can hopefully find a resistor or capacitor to resuse when I need one. Lately, I was looking for a resistor to pull from an old DOD Digital Delay pedal and saw a chip with RC4558P on it. The numbers struck a bell and got me thinking about the chip in the Tube Screamer. I searched the web and immediately came to Analog Man's Tube Screamer Page. His History section gave me some good insight. Early TS-808's have the Ibanez (R) "trademark" logo which some people seek. There is really no difference, although some of these that sound awesome have a Malaysian Texas Instruments RC4558P chip instead of the normal Japanese JRC4558 chip.This sounded interesting so I added a socket to the TS-7 circuit board and tested the sound of each chip I had. The stock JRC4558D (with "43k" stamped into its underside) sounded thin to me, even after the other mods I'd done to the pedal already. I had another JRC4885D (with "TM" stamped into its underside) from a kit I bought to upgrade the pedal and it sounded better, more full, than the stock one did. The RC4558P sounded the best by far and is the chip I left in the pedal. Says Analog Man: In AB tests, there is VERY little difference between the three chips [JRC4558, JRC4558D, RC4558P] although the JRC gives the strongest CLASSIC tube screamer sound- the sweet vocal midrange.Well, I guess I don't appreciate the CLASSIC sound. I do appreciate the sound I have now though.
|