-
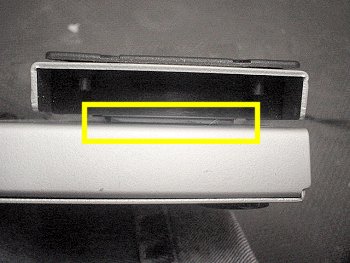
Remove the thin rubber strip found underneath the back end of the pedal. Use a thin knife blade or screwdriver blade to pry up one corner and it should peel out easily.
|
 |
-
Remove the two thick foam pads found underneath the front end of the pedal.
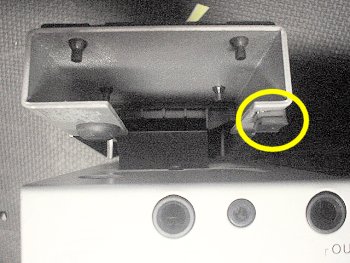
Cut two small strips from the rubber strip removed in step 1 and glue them to the underside of the front of the pedal as shown.
To turn a pedal effect on/off, press down on the right side of the pedal. The two layers of rubber on the other side will keep the effect from triggering during regular use.
|
 |
-
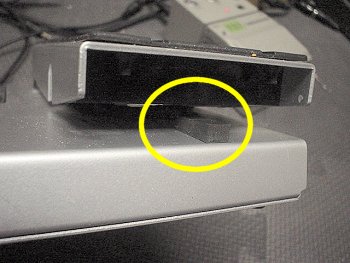
Stick the narrower of the two foam pads removed in step 2 on the AX1500/AX1000 chassis so that it sits perpendicular to the slot that held the original thin rubber strip.
|
 |
-
Recalibrate your Expression Pedal to accept the new start and stop points of its range.
- Power up the unit while pressing the Pedal Block and Exit buttons. The LED should read "PEDAL"
- When the LED reads "MIN" rock the pedal to its full back position and press the Write button.
- When the LED reads "MAX" rock the pedal to its full forward position and press the Write button.
- The LED should read "COMPLETE" and then start into play mode.
|