Stratocaster Blender Mod
Comments
The Stratocaster Blender Mod has been around for a long time. It makes the neck pickup tone control a master tone control and uses the now free middle pickup tone control as a blender control. You can add the bridge pickup to the neck and neck+middle switch positions. You can add the neck pickup to the bridge and bridge+middle switch positions. If the blender control is full-on, positions 1 and 5 on the switch are the same (neck+bridge and bridge+neck). So are switch positions 2 and 4. What makes this mod worthy are the tones you get when the blender control is not full-on.
Let's say that your blender control is on 50%. The neck position on the switch is now 100% neck pickup and 50% bridge pickup. The bridge position on the switch is now 100% bridge pickup and 50% neck pickup. Switch positions 1 and 5 are now distinctly different. Switch positions 2 and 4 are also different from each other because each now includes 50% of the neck or bridge pickups.
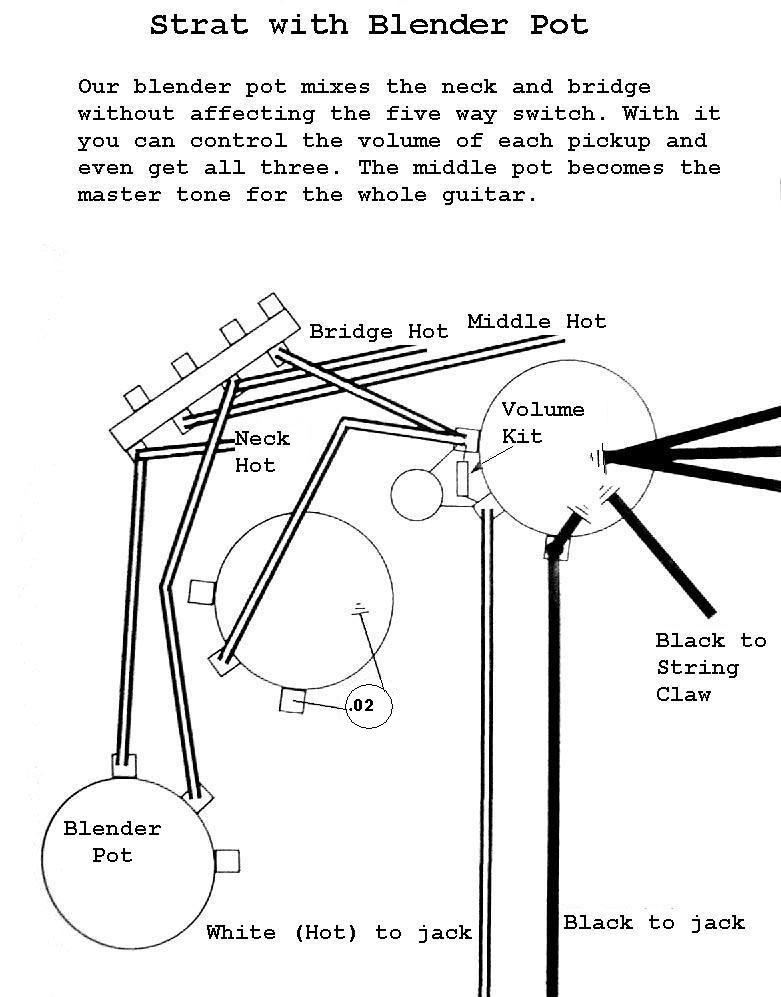
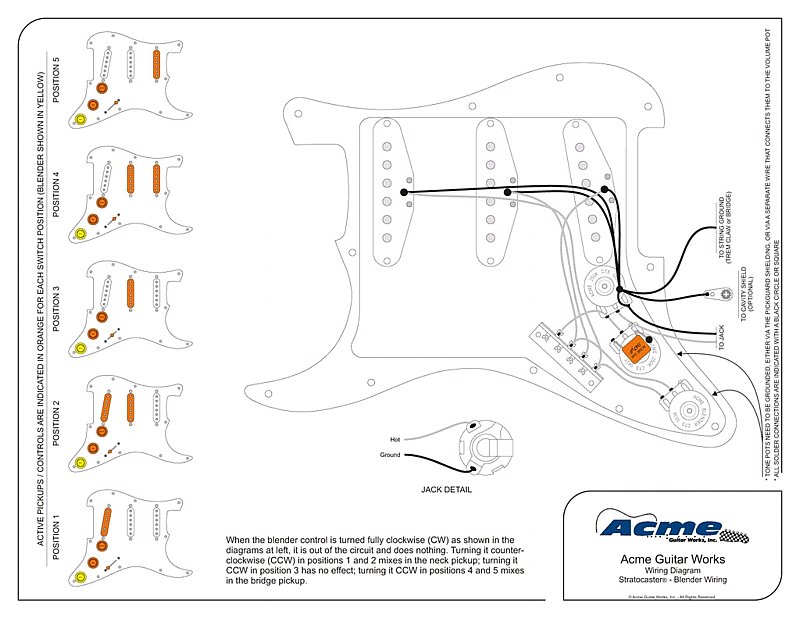
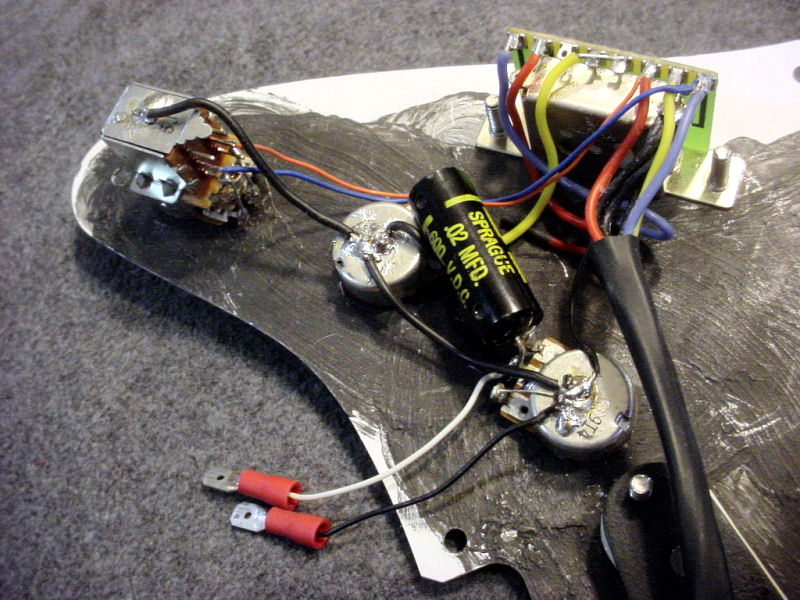
At its most basic, you don't have to buy any extra parts and you only have to move/connect a few wires. The images below are some commonly available diagrams for the blender mod and a photo of a guitar with the mod in place. In all cases, the neck and bridge tabs on the switch are jumpered over to the blender pot's center and right tabs.

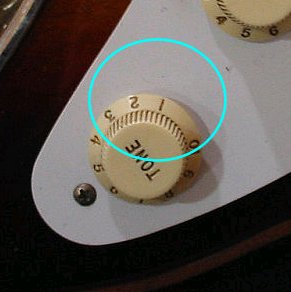
The wiring above will work, but it works quirky. To turn the blender on 100%, you have to turn the knob to 1. To turn off the blender, you turn the knob to 10. That's backwards, counter intuitive, and just not right.
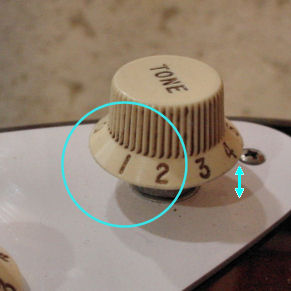
Blender all the way ON at 1 = lame
 |
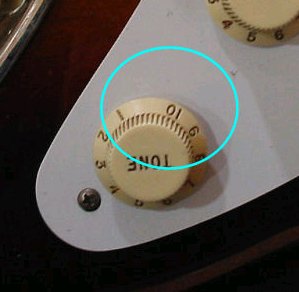
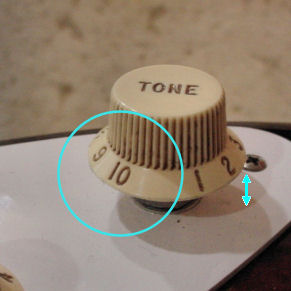
Blender all the way OFF at 10 = lame
 |
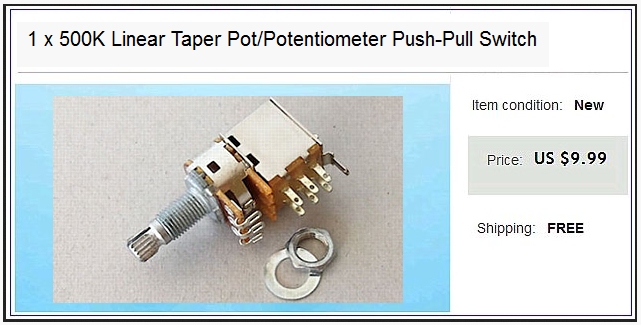
I wanted the knobs to work like the other two on the guitar--1 is off and 10 is on. I needed the blender control behavior to be reversed. So I needed a reverse taper potentiometer to replace the current non-reverse blender potentiometer. Or better, a linear potentiometer. A linear pot has an even sweep as it is turned, so 5 on the dial is 50% where as an audio potentiomenter set on 5 might be around 14%. As a bonus, the pot I bought also had a built-in push/pull switch. With the push/pull switch, I could have no blender when the switch is down and yes blender when the switch is up.
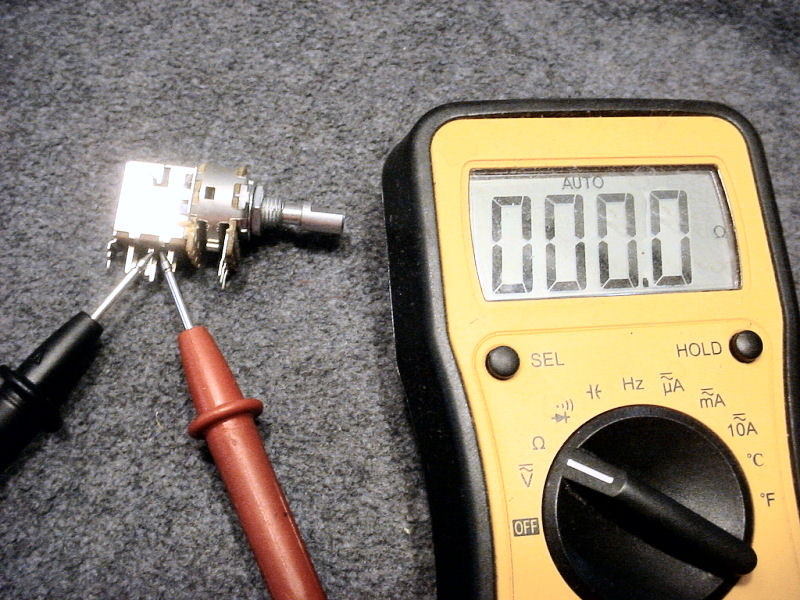
When the switch arrived I first needed to find out which switch lugs are used when the switch is up. Using a multimeter I determined that the center row was connected to the top row when the switch is pulled up.
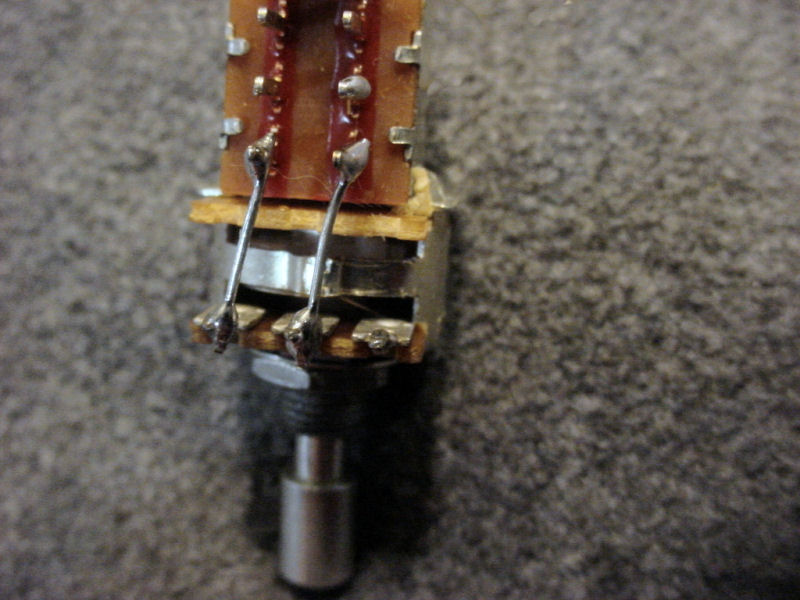
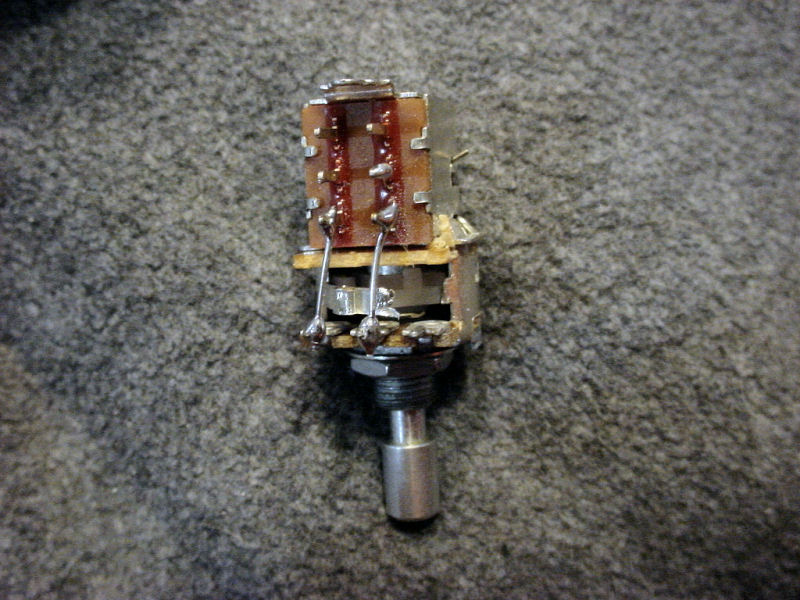
Next I soldered two jumper wires from the top row of the switch to the center lug and left lug of the new blender control pot. I'll connect the neck pickup and bridge pickup wires to the middle row of the switch. When the switch is up, the neck and bridge pickup wires will be connected to the blender control and the blender will work. When the switch is down, the pickup wires will not be connected to the blender pot and the blender will not work.
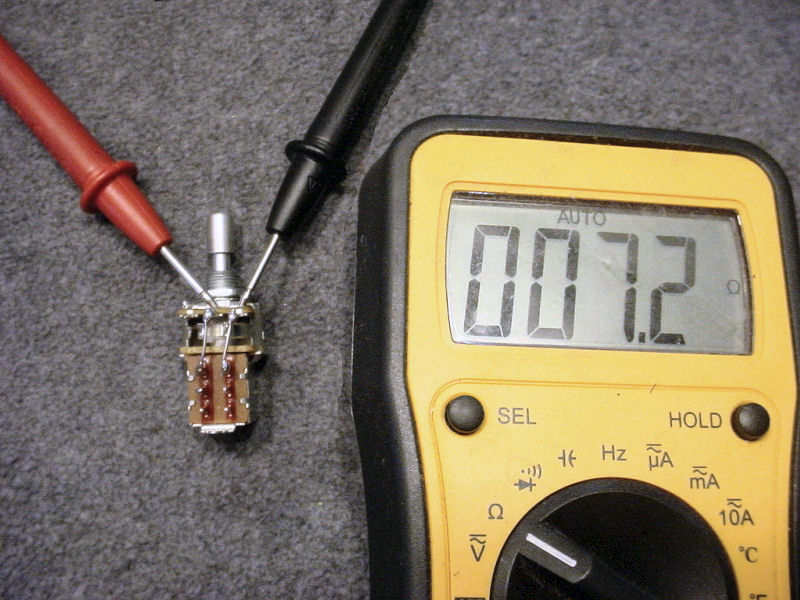
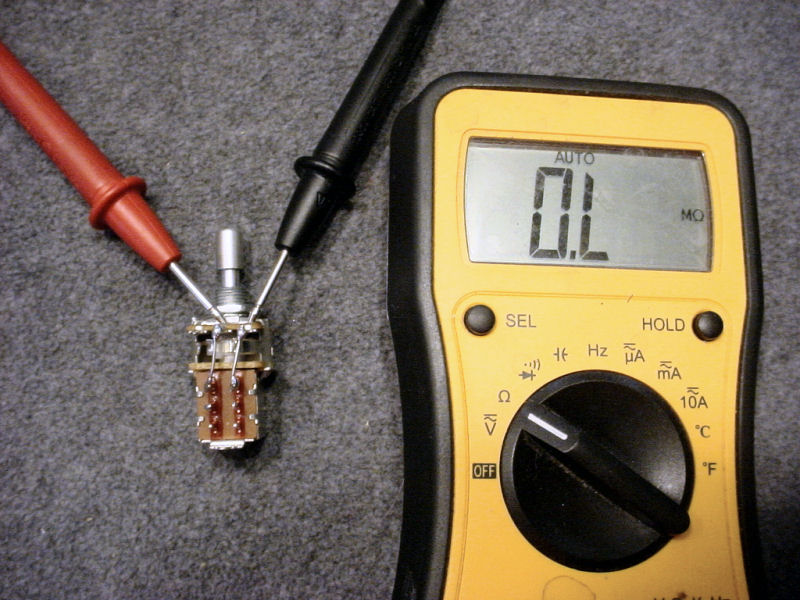
Now I needed to make the new blender control a "no load" control. No Load means that when the control is turned all the way to left (off), the control is taken completely out of the circuit. In the picture below, the blender control is turned all the way to the left/off and reads 7.2 ohms instead of 0 ohms as we'd expect. To disconnect the control from the circuit I had to scrap away some resistance.
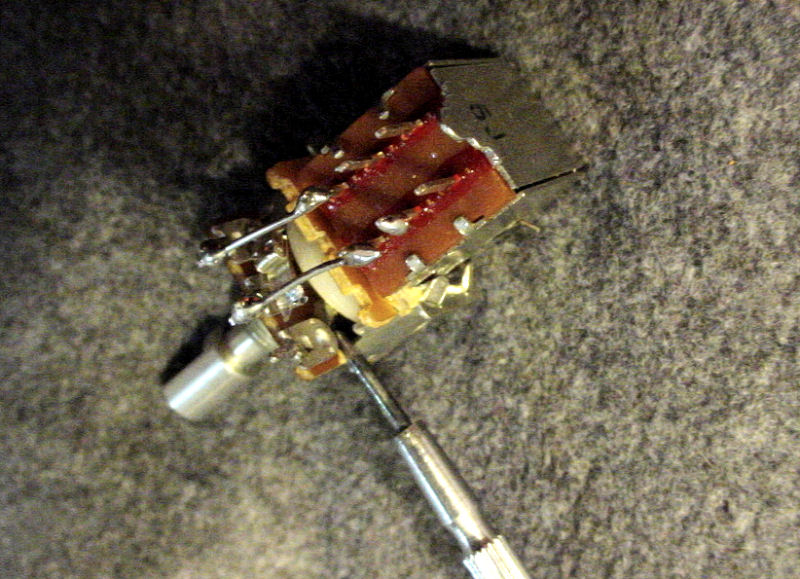
In this photo you can see into the control. There is a small spoon-like piece of metal visible. Its position is with the control set to one. If I turn the control, that spoon will move along a track around inside the control until the control is on ten and the spoon is visible from the other side of the control.
In this photo I am using a sharp tool to scrape away part of the spoon's track just to the right of where the spoon is positioned with the control on one. The goal is to break the spoon's connection to the rest of its track. Take your time and test over and over until your meter indicates that there is no connection.
My new no-load pot works as expected. There is no resistance now when the control is on one. At this position, the blender control is no longer part of the circuit.
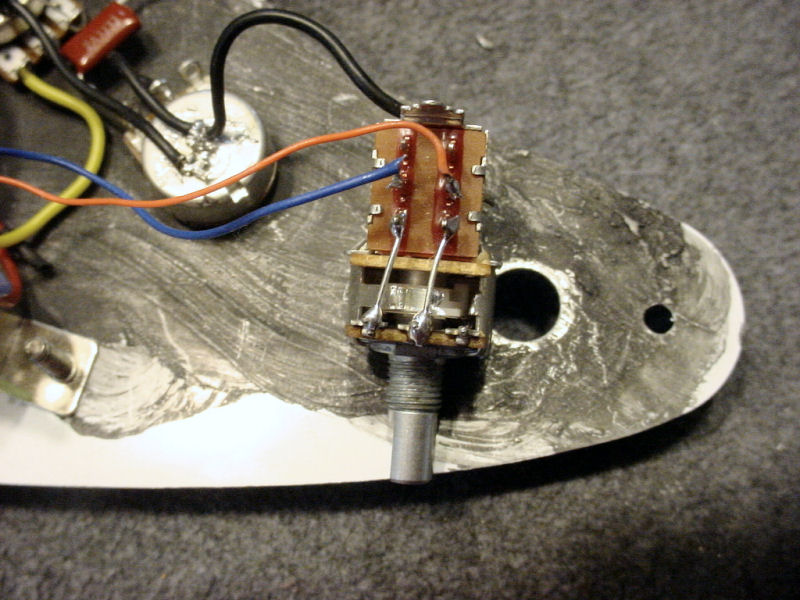
Now to install the new control. Here is my guitar wiring with the old way of doing the blender mod.

I removed the blue and brown wires from the existing control and soldered them to the middle row of the push/pull switch. As I said above, when the switch is up, the neck and bridge pickup wires will be connected to the blender control and the blender will work. When the switch is down, the pickup wires will not be connected to the blender pot and the blender will not work.
The mod is complete and I just need to put the pickguard back on the guitar.
Now the blender control is correct.
Pulling up on the blender knob activates the blender. When the knob is on ten you'll have full blend and when the knob is on one you'll have no blend.
Blender all the way ON at 10 = Good
 |
Blender all the way OFF at 1 = Good
 |
|